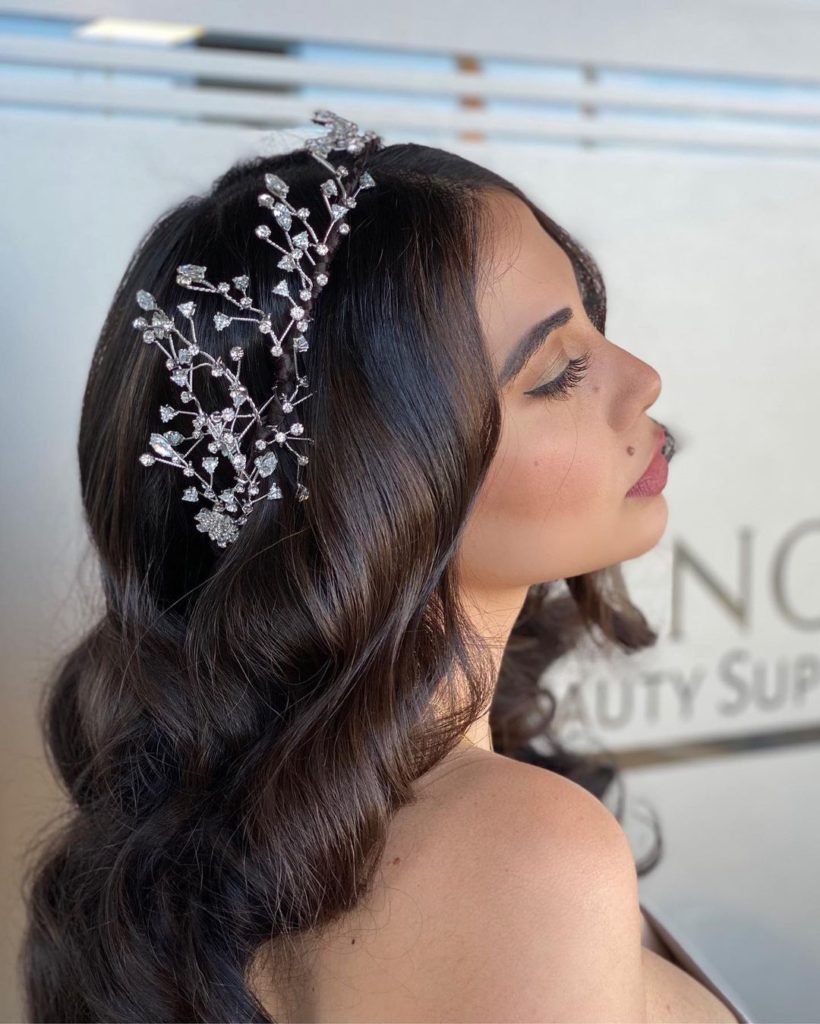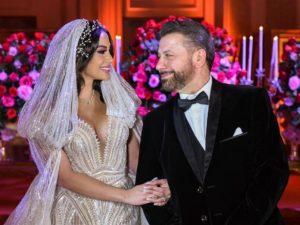
With lockdown restrictions in place, weddings are bit harder (read impossible) to plan. But whether you’re about to get married, or just scouting some wedding hair inspo; Guinwa’s wedding hair tutorial shows you how her dad (read that right) did her wedding hair – step by step. Here’s everything you need to know.
“Obviously, I don’t wear the same makeup and I don’t have my wedding dress on, so the vibe is gonna be a little different,” Guinwa starts. “But I’m going to be inserting photos along this video to show you how my wedding hair was. I did have hair extensions on and he’s going to be putting those on me today and my wedding hair piece that I wore on my wedding day.”

Guinwa and her father
The Time
“It took about an hour and a half for him to complete my hair.”
The Accessories
For Guinwa’s wedding headpiece, she says “The designer wanted it to seem like these stems are coming straight out of my hair in a very natural, subtle way.” Guinwa’s dad used a 28 mm wand. “If you want to achieve the same look, make sure your barrel is just as thick.”
How-To
Step 1: Blow dry
A smooth blow dry gives the perfect base for styling. Guinwa’s tip? Don’t have your hair “super clean,” and instead, have it ” at least one day dirty.” “If you’re doing your hair for your wedding night, make sure to wash your hair the night before, so the next day, your hair has some oils to it. It’ll look a lot better when it comes to styling!”
But be careful – don’t straighten your hair too much (unless that”s the goal). “If it’s your wedding night, you guys have a long night. If your hair is super straight and then you decide to curl it, the curls won’t hold on all night. So, that’s why my dad only straightened the crown of my head and then the roots on the side of my face to make sure everything’s nice and sleek and the baby hairs are out of my face when he curls my hair.”
Step 2: Extensions and Curl
After blowdrying, the next step is hair extensions. Before placing them “line by line,” Guinwa’s dad parts the hair in the middle. “On my wedding day, I had it parted in the middle; but obviously you guys should do whatever fits your face shape. I have an oval face, so parting in the middle does suit my face shape.” Teasing the hair section by section, Guinwa’s dad places in the extensions, curling it right after. The trick to keeping your curls for longer? “Once he curled my hair, he went ahead and clipped them, so that way, the curls can last a little longer. By the time he’s done curling the rest of my hair, he’ll remove all the clips and then style my hair.”
PS.: “The extensions I’m wearing are from Elegance Hair Care,” Guinwa adds. She had 24 inch hair extensions, which she trimmed down after the wedding – which is why her hair might seem shorter in the video than on her actual wedding day. “For everyday life, I didn’t feel like they were appropriate.”
Step 3: Remove the clips
“Now that my hair’s all curled up and tied, my dad’s gonna remove the clips and start styling the hair.” Unloosening the curls, Guinwa adds “The look is to go for really loose curls – somewhere in between Hollywood glam and a natural looking curl. I like to make sure that the curls don’t start really high (up at the roots), I feel like it suits my face structure a little bit more. That’s why the curls don’t start till right below my actual eyes. I personally feel like it has a slimming effect when the hair is straight from the top and the curls start as you go.”
Step 4: Put in the headpiece
“We put it right behind my earlobes.” The stems on piece are adjustable, “You can put them inside, or outside – however you want it to be. My dad set it the headpiece with bobby pins.”
And that’s it. Beautiful, lush curls adorned with a stunning headpiece to truly crown the special day. You can watch the full video below and “If you have specific questions for us, make sure to leave them in the comments down below!”
Looking for more wedding stuff? Check Guinwa’s unique twist on wedding vows, getting the best wedding planners, or having a clear vision for wedding decor.


